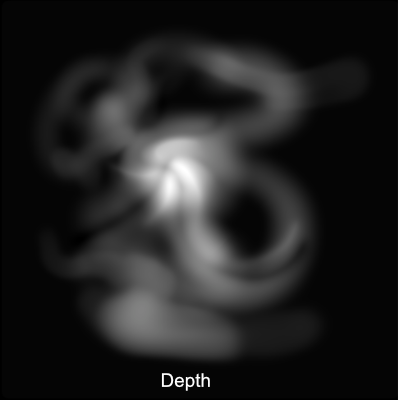
Unreal is capable of pretty amazing things now with the Motion Design tools. I followed a couple of tutorials and was impressed with the results. The video playing above is the result.
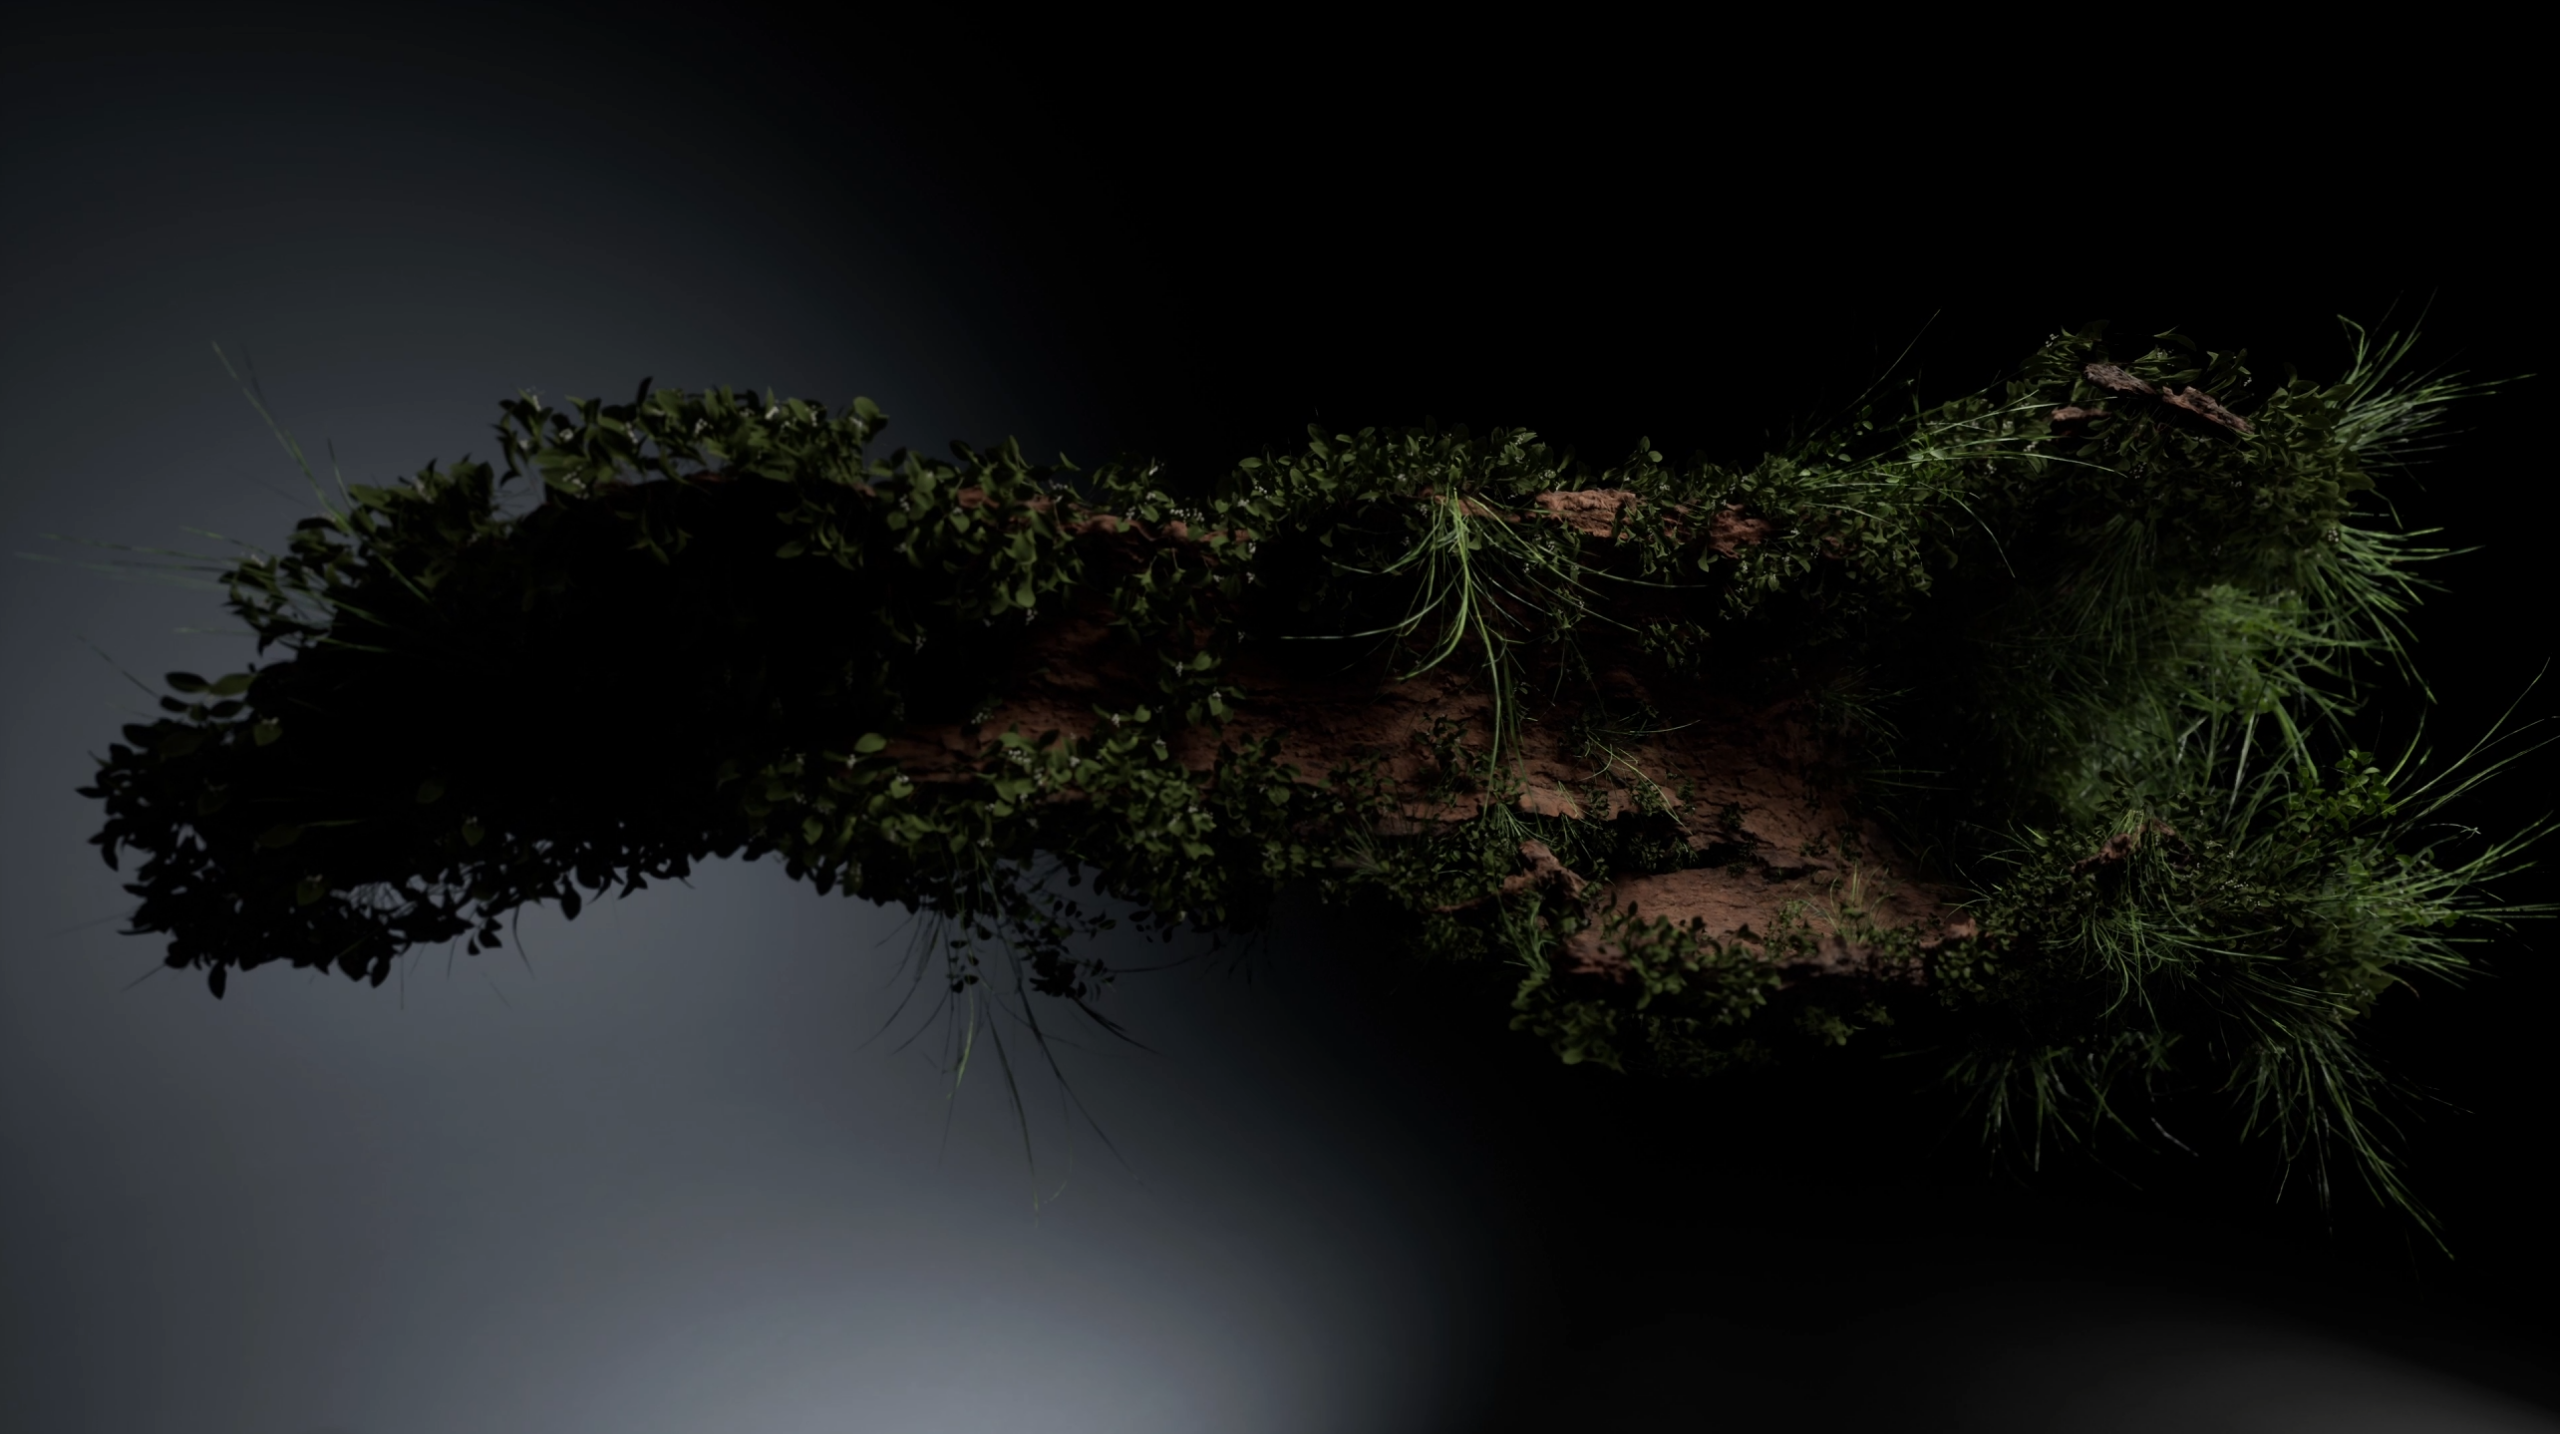
The assets are from Quixel Megascans. I tried using Nanite and the high LOD versions first and while it looked great the performance was too slow. I ended up leaving the log as Nanite and using a lower LOD for the foliage.
The next step is to try using this with an idea of my own and recreating it with Niagara if possible.

I followed this tutorial first and loved how fast and to the point the explanation and demonstration was:
I was planning on adapting this Motion Design technique to something more complicated and/or visually impressive but discovered this tutorial from ali.3d and followed it in the hopes of learning more about lighting and sequencer and it didn’t disappoint:
Retro
This took longer than I was expecting and Unreal crashed more often than normal so I wrote up a little Good Bad and the Ugly postmortem for myself.
- Good:
- Very nice result
- I learned a lot about some of the new [[Motion Design]] tools in [[Unreal]]
- I learned more about lighting and how good things can look with the higher fidelity assets
- I learned more about [[Sequencer]] and how to animate cameras, etc. I feel much more familiar with Sequencer now and it’s much easier than the stupid Rebelway tutorial had me believe
- Bad:
- Performance was very slow with all the foliage enabled.
- [[Unreal]] crashed frequently, many times losing data even though I had been actively saving progress along the way. Sometimes I had to completely redo things.
- Ugly:
- [[Movie Render Queue]] and lighting between viewport and camera is a nightmare in Unreal at the present time.
- There are so many threads with people trying to figure out why their renders are blown out and too light compared to the viewport. I finally figured it all out after much searching and trial and error and feel the knowledge slipping away already.
- key points were setting the camera exposure to manual and then adjusting up and down with the camera selected and the preview window visible – the camera exposure is what matters more than what the viewport looks like.